
The Sensitify ECA series is a USB-connected electrochemical analyser. This page covers the common path from box to first measurement. For per-model differences, see device quickstart.
What's in the box
Every ECA ships with:
- The instrument
- USB-C cable for PC connection
- Power supply with regional plug adapters
- Electrode cable
- Dummy cell for the first sanity check
- Quick-start card
ECA-LP1, for example, ships with a USB-C PPS adapter and a 1 m Lemo-to-banana electrode cable. Other models include the cable that matches their connector. See device quickstart for the specifics.
If anything is missing or damaged, contact support within 14 days of delivery.
System requirements
- macOS 12 or later, or Windows 10 or later
- A free USB-C or USB-A port. The cable provides USB-C on the instrument side
- 500 MB of disk space for Sensitify Studio
No drivers are required on modern versions of macOS or Windows. The instrument appears as a USB device that Sensitify Studio talks to directly.
First connection
- Plug the power adapter into the wall and connect it to the
instrument's
Powerport. The status LED on the front panel turns red. The instrument is powered. - Connect the included USB-C cable from your computer to the
instrument's
PCport. The LED turns green when the instrument is talking to Studio.
For the full LED reference (and what to do if it's blinking green), see common issues.
Install Sensitify Studio
- Open the downloads page and grab the build for your operating system.
- Run the installer. On first launch, Studio detects the instrument automatically and the status panel shows the device model with a green dot.
Your first measurement
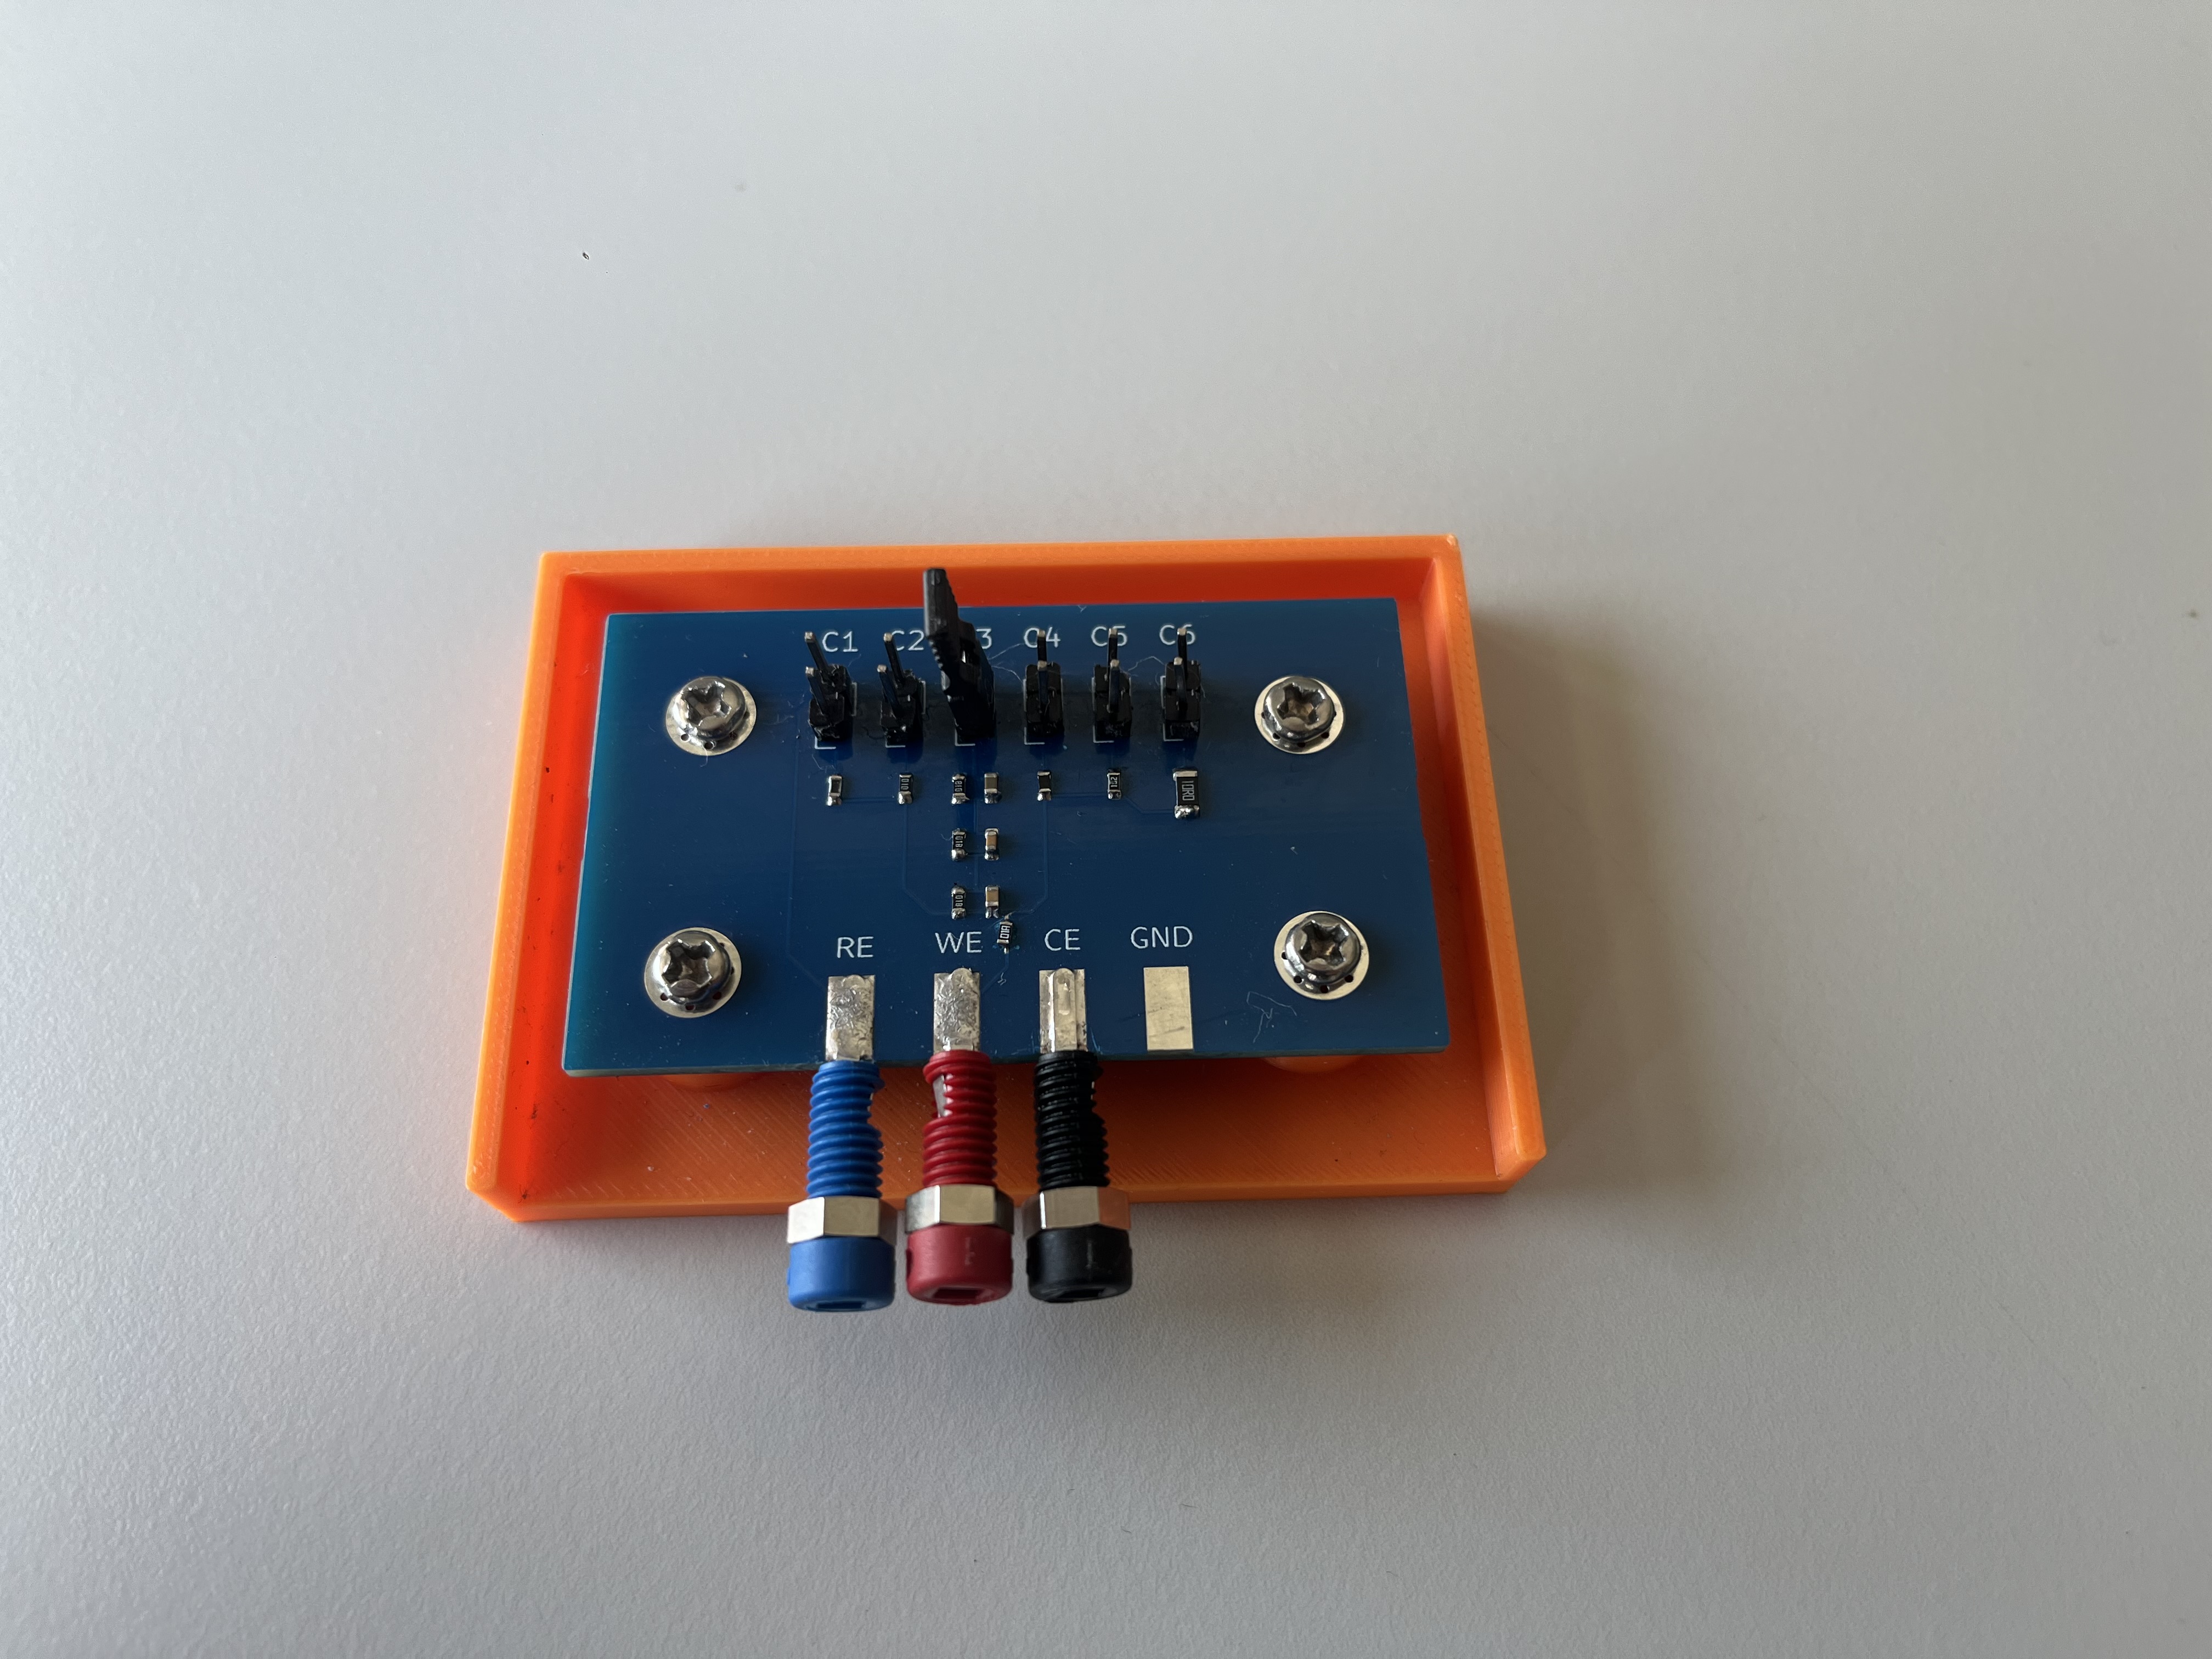
The dummy cell is the simplest way to confirm that your setup is working. It is a small circuit of resistors and capacitors whose frequency response is stable and well-defined. Comparing your measured trace against this known response checks that the cable, instrument, and software path are all intact before you connect a real chemical cell.
-
Plug the dummy cell into the electrode cable.
-
In Studio, select Electrochemical impedance spectroscopy from the technique list.
-
Set the start frequency to 500 kHz and the final frequency to 5 Hz.
-
Set the number of frequencies to 50 with logarithmic distribution.
-
Set VAC to 50 mV and VDC to 0 V.
-
Set the wait time to 1 second.
-
Click Start.
The result should match the trace in the video below.
If your trace looks noisy or far from the expected shape, see common issues. For a deeper check, fit a circuit to the dummy-cell spectrum and confirm the recovered R and C values match the components on the board.
If something goes wrong
A few quick things to try first:
- Studio doesn't see the instrument. Try a different USB-C cable. USB-C charging cables don't always carry data.
- The LED never turns green after plugging in USB. The boot didn't complete or the host didn't enumerate the device. Unplug power, wait a few seconds, plug back in.
- The CV looks noisy. Make sure the dummy cell is fully seated in the cable and nothing is touching the electrode contacts.
For deeper debugging, see common issues.